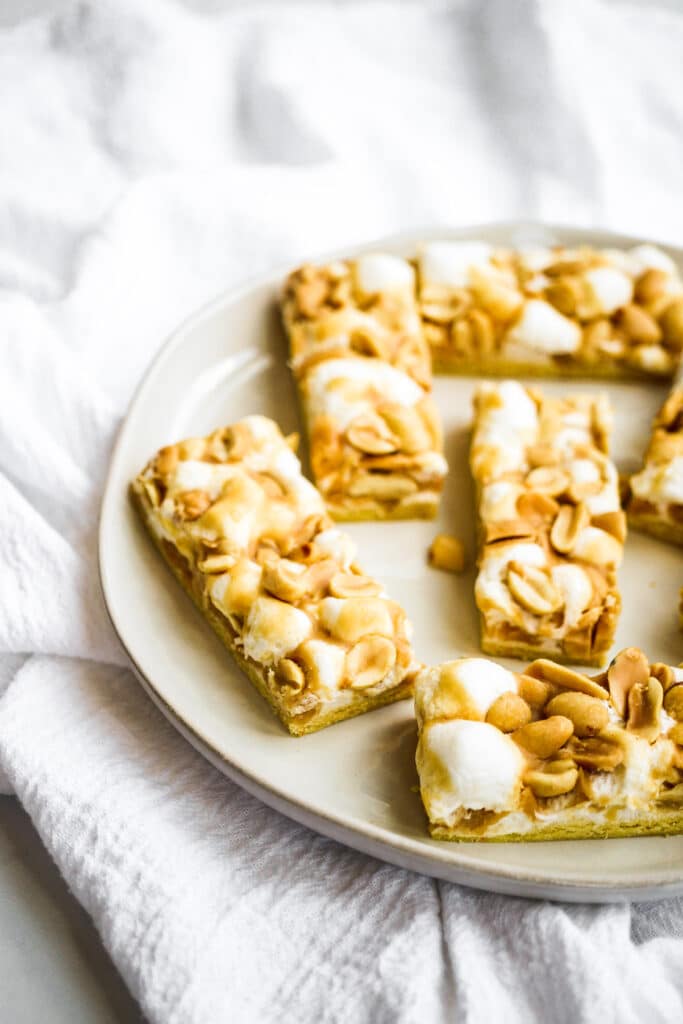
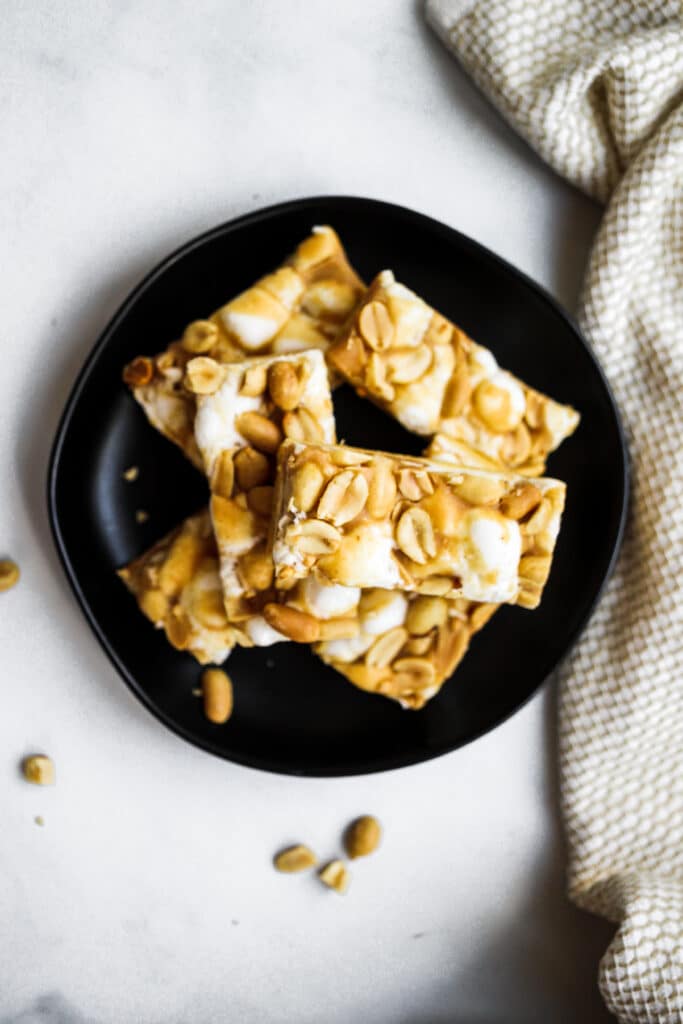
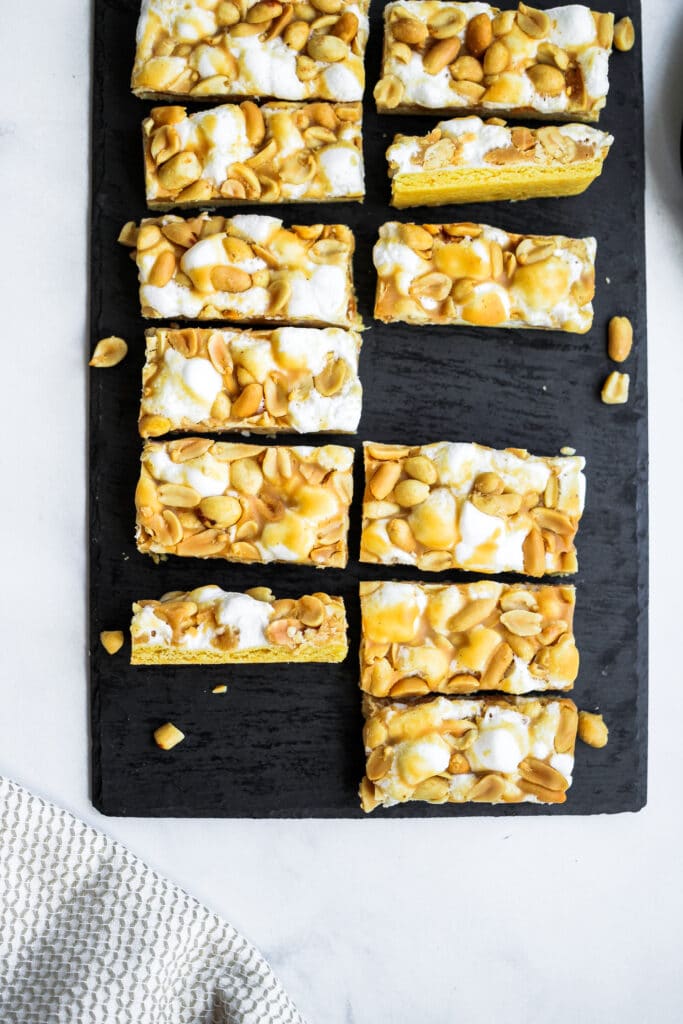
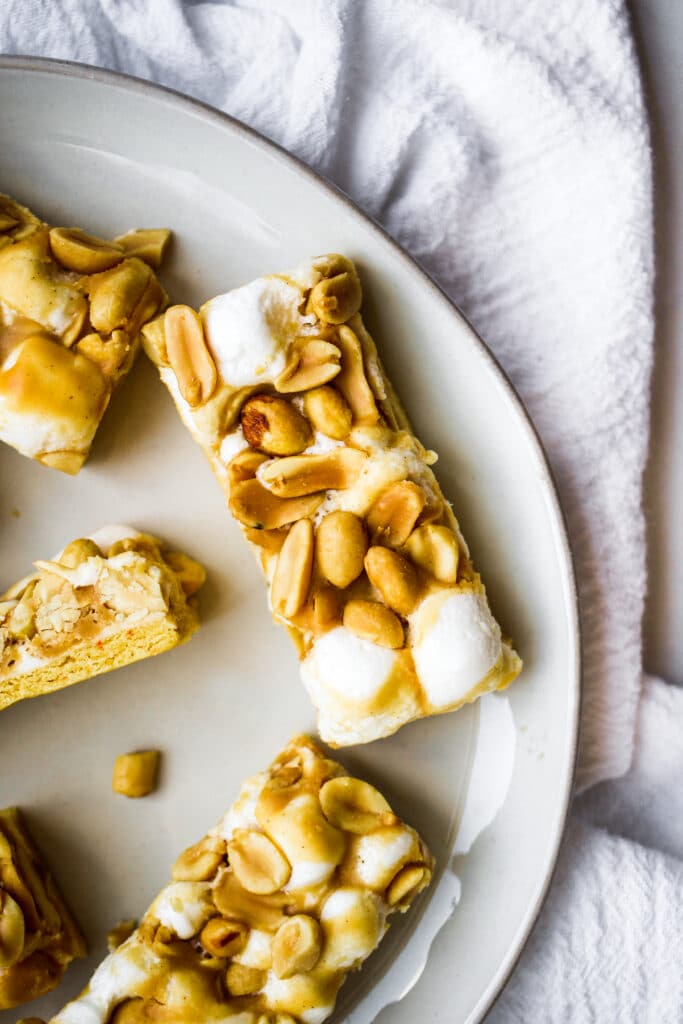
The first time I ever had a salted nut roll bar was at a baby shower the day before I started classes at Iowa State University back in August 2009. It’s funny how certain food memories stick with you, and this one was of them. I would describe salted nut roll bars as the perfect bite of sweet and salty and crunchy, gooey, and creamy. The bar features a tender, buttery crust and is topped with lightly toasted marshmallows, a rich peanut buttery topping, and salty, roasted peanuts. They really are like a salted nut roll candy bar but way better in my opinion.
Salted Nut Roll Bars Recipe Origin
This salted nut roll bar recipe was so graciously shared from our family friend, Linda Barrick, over a decade ago! The time really does fly! Linda is an exceptional cook and baker, and if Linda invites you over, you know there are going to be tasty treats served. She also makes the best cookies! It has been a while, but we also love movie nights and catching up with endless laughter. Linda is a true kindred spirit, and our entire family loves her!
Pictured below from left to right are my aunt Cindy, me, my sister Olivia, and Linda.

From left to right is Linda, me, my great aunt Meme, and my mom while I was wedding dress shopping many years ago...this was the dress! Linda is practically family in many ways!

Salted Nut Roll Bar Components
Base
These bars are pretty simple to make because they start with a yellow cake mix. All you need to do is mix it up with some butter, an egg, and just a little water. The mixture itself will be very thick for the base layer and is a bit difficult to spread thinly. This recipe should be made in a jelly roll pan, so the cake mix layer will seem very thin once spread out. However, this is normal and the base will puff up some as it bakes.
Marshmallows
Once the base has been baked for 10 minutes, you will simply top it with the marshmallows and bake a few minutes longer. The key trick here is to bake the marshmallows enough so they are puffed without browning them. The bars are then ready for the remaining ingredients.
Peanut Buttery Drizzle
The “peanut butter” topping doesn’t actually contain peanut butter, but you would never know! Instead, it’s made with butter (YUM), corn syrup, and one package of peanut butter chips. Let me tell you, this mixture is seriously so good and you will never even miss real peanut butter. This gets all melted together in the microwave until it’s silky smooth and then drizzled all over the bars.
Salted Peanuts
Last but not least, you’ll add an entire can of salted peanuts over the top. I like to use the oil roasted peanuts but dry roasted would work as long as they are salted. Do not buy unsalted or lightly salted peanuts. You want the salt to balance out the sweet components of the bars. Other recipes I’ve seen call for rice krispies, but they are just not needed. I may be biased but Linda’s recipe is truly the best!
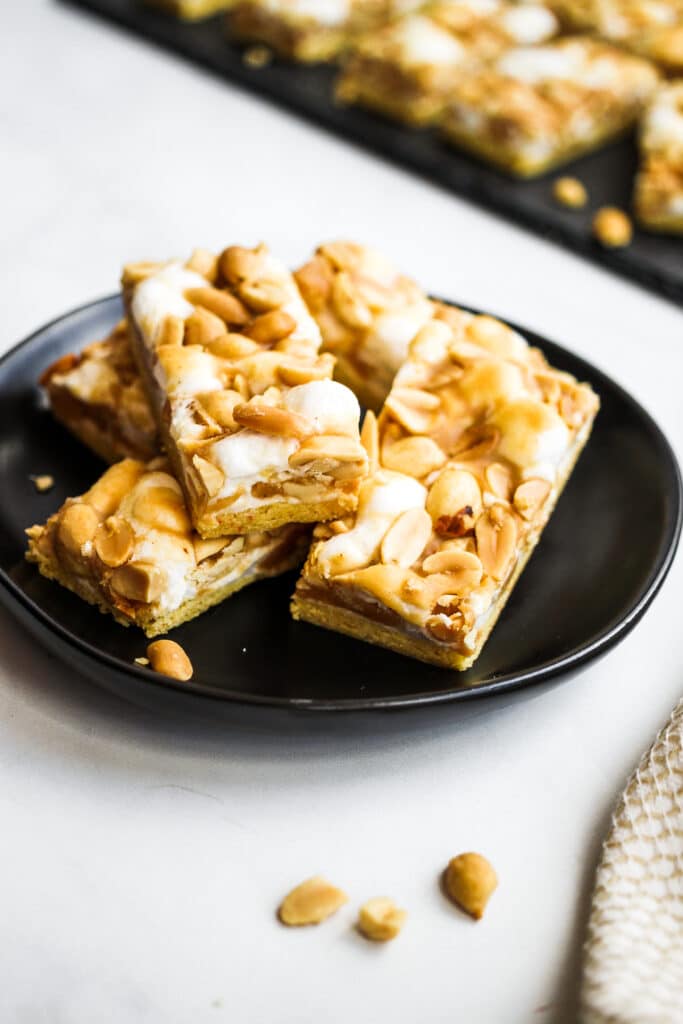
Try them out for yourself. I promise you will love them!
Salted Nut Roll Bars
Ingredients
Base Ingredients
- 1 15.25-ounce yellow cake mix
- 1 Tablespoon water
- 1 stick butter melted
- 1 egg
Topping Ingredients
- 1 10-ounce bag miniature marshmallows
- 1 stick of butter, sliced
- ½ cup corn syrup
- 1 10-ounce package peanut butter chips
- 1 16-ounce can salted cocktail peanuts
Instructions
Base Instructions
- Preheat oven to 350° and grease a 15.5 x 10.5 inch jelly roll pan or line with parchment paper.
- In a medium bowl, mix the yellow cake mix, water, melted butter, and egg until blended. Spread into the prepared jelly roll pan in a thin, even layer. Bake for 10 minutes.
Topping Instructions
- Immediately sprinkle the base layer evenly with the miniature marshmallows. Return to the oven and bake for an additional 3-4 minutes or just just until marshmallows have puffed. Do not let the marshmallows brown.
- In a glass microwavable bowl, place the butter slices, corn syrup, and peanut butter chips and stir. Microwave until melted, stirring after 30 second intervals.
- Pour the peanut butter mixture over the puffed marshmallows and gently press the salted peanuts over the top.
- Let bars cool completely before cutting. If desired, the bars may be stored in the refrigerator for firmer texture.
Be sure to check out these other great posts!



This is a “must try it for myself” recipe!
I made these recently for a gathering and had 3 people ask for the recipe!! It was such a great feeling to make the standout dessert!
I’ve made these multiple times and they are always a hit!! Your blog is awesome! The helpful photos, easy to follow instructions and recipes keep me coming back for more!!!