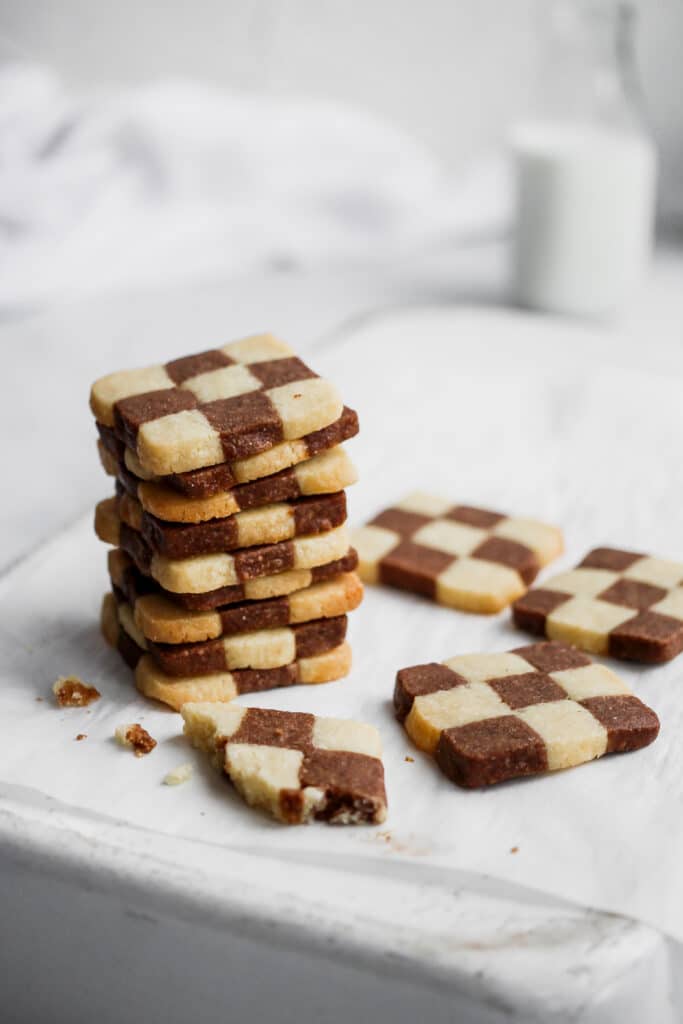
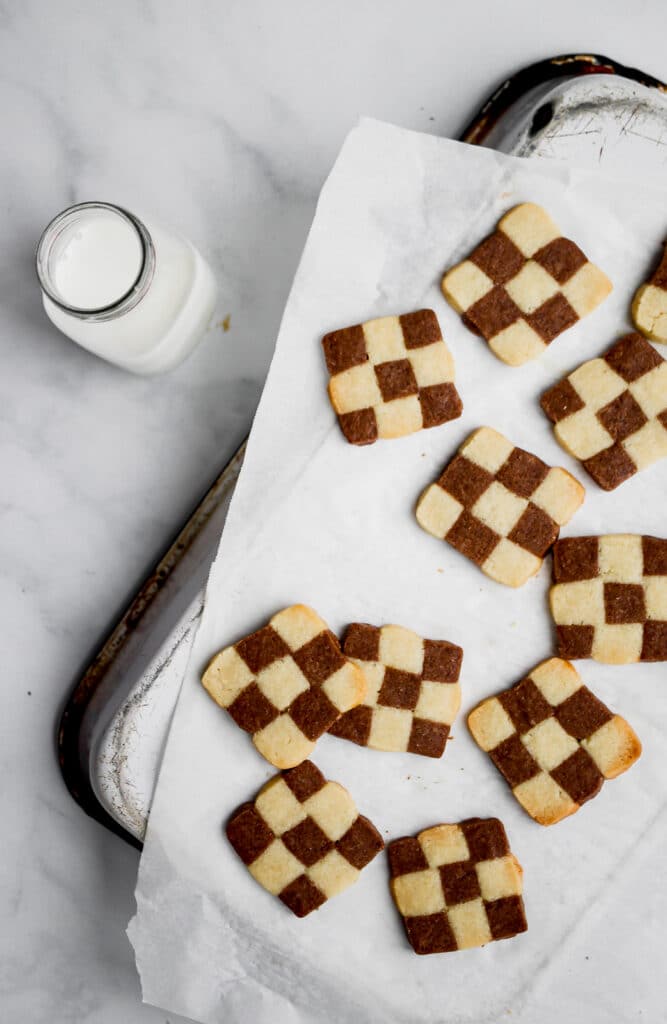
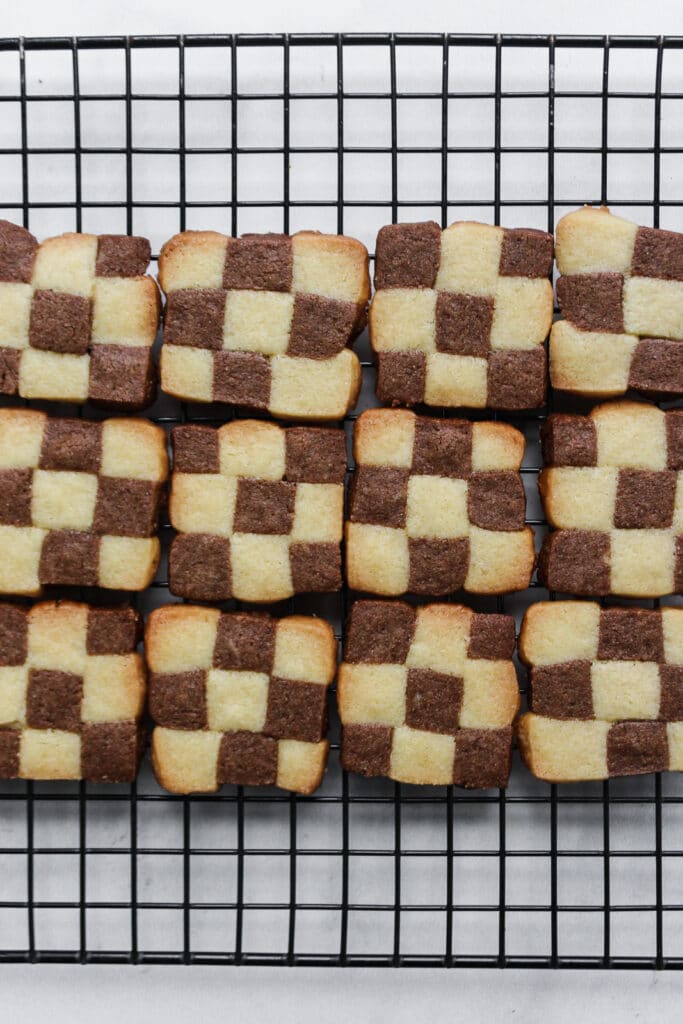
I was always intimidated to make sliced cookies, especially those with a pattern. I was very mistaken because these checkerboard cookies are quite easy to make with a few simple knife cuts. An added bonus is that they are as tasty as they are beautiful! They are the perfect balance of chocolate and vanilla in one buttery cookie.
Why I Love Baking!
I love baking, especially pretty desserts like these checkerboard cookies. Baking has always appealed to me because of it’s scientific-nature, but there is so much more to it than precise measurements and techniques. Foods are tied to family, memories, and emotions, including joy, love, pleasure, and nourishment. But even beyond that, baking allows for a certain level of artistry in day-to-day life.
I have been able to channel my talents in this blog. Food photography and blogging have allowed me to utilize technical skills and showcase my creative side. I am working towards turning this blog into a business because this is truly what I want to be doing long term. It takes courage to post my thoughts and recipes in hopes that others will not only read it but also like what I have to say. Blogging takes grit and perseverance more than anything. There is so much work behind-the-scenes in this ever-changing and already competitive space.
About these Checkerboard Cookies
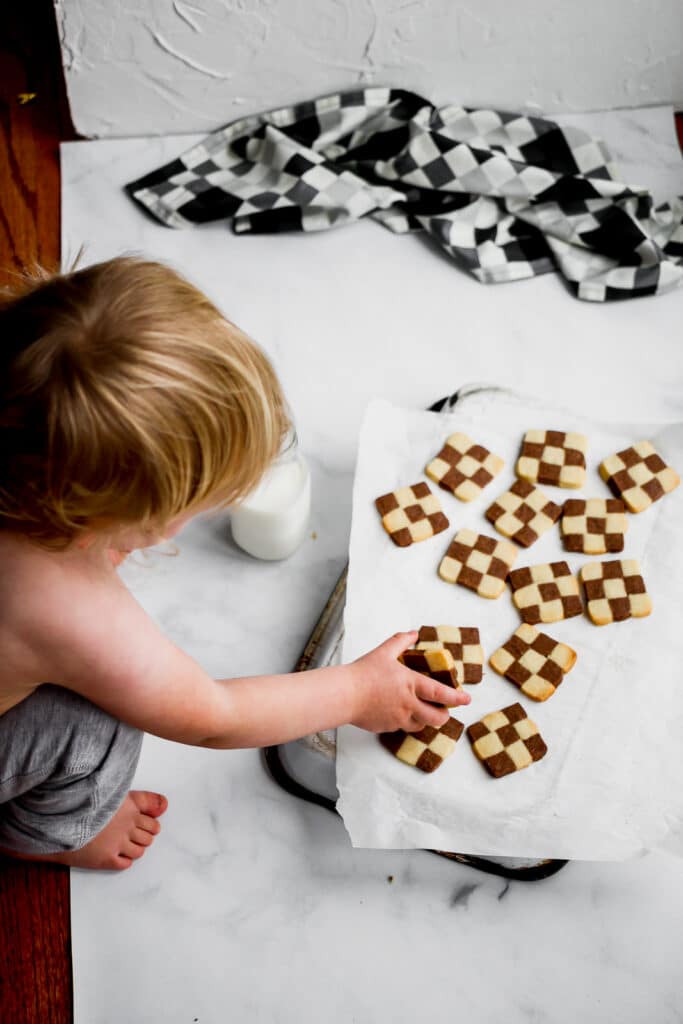
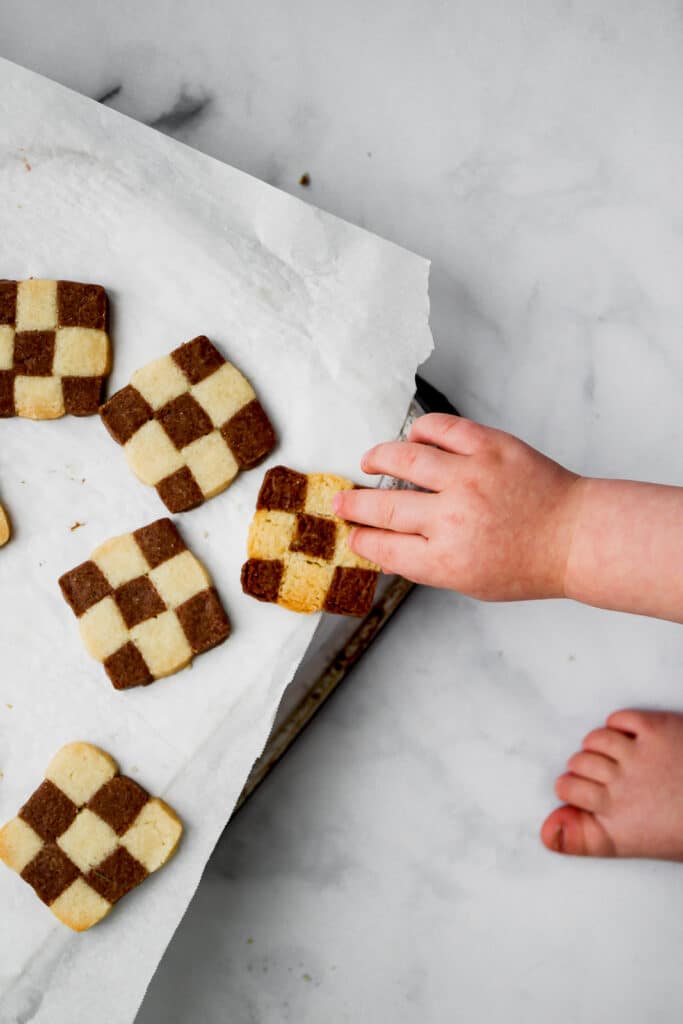
These checkerboard cookies are like a buttery shortbread but with so much more finesse. They are truthfully as much fun to make as they are to eat. With a few simple knife cuts and rearranging, you will see that these sliced cookies are actually not that complicated to make. There is a perfect balance of vanilla and chocolate, and these cookies would be beautiful as part of your Christmas or holiday spread. As you can see below, these are Mitchy-approved!
Here a few key things to keep in mind:
- The dough is extremely thick. It may seem too dry as you are mixing, but keep going. This recipe needs a high ratio of flour for the cookies to maintain their shape.
- To add the cocoa powder, I find it easiest to knead it into the cookie dough. To keep your countertop clean, I recommend mixing over a large piece of parchment paper.
- Do not skimp on the chilling time. You will have the best squares if you use a firm dough.
- Review the recipe and all pictures outlining the process before starting. It helps to understand the process.
- Use a sharp chef's knife for cutting to achieve smooth cuts.
- You will bind the cookie dough into the checkboard pattern using whisked egg white. It essentially serves as glue and it really works.
As you will see below, these checkerboard cookies are really not that difficult to make. The recipe is detailed, but the process is quite simple. The hardest part is waiting for the dough to chill before shaping. I hope you enjoy!
Checkerboard Cookies
Ingredients
- 1 cup butter softened
- 1 cup sugar
- 1 egg yolk (reserve the egg white)
- 2 tsp vanilla extract
- 2 ½ cups all-purpose flour
- ½ tsp baking powder
- ¼ tsp salt
- 2 Tbsp unsweetened cocoa powder
- 1 egg white reserved and whisked for assembling the checkerboards
Instructions
- Cream the softened butter and sugar until light and fluffy with an electric mixer. Mix in the egg yolk and vanilla.
- Combine the flour, baking powder, and salt in a small bowl. Add about half of the flour and mix until incorporated with the mixer. Mix in the remaining flour and stir until combined with a wooden spoon. The dough will be very thick.
- Divide the dough in half and add the cocoa powder to half of the cookie dough. Mix until the cocoa powder is even throughout; kneading if necessary.
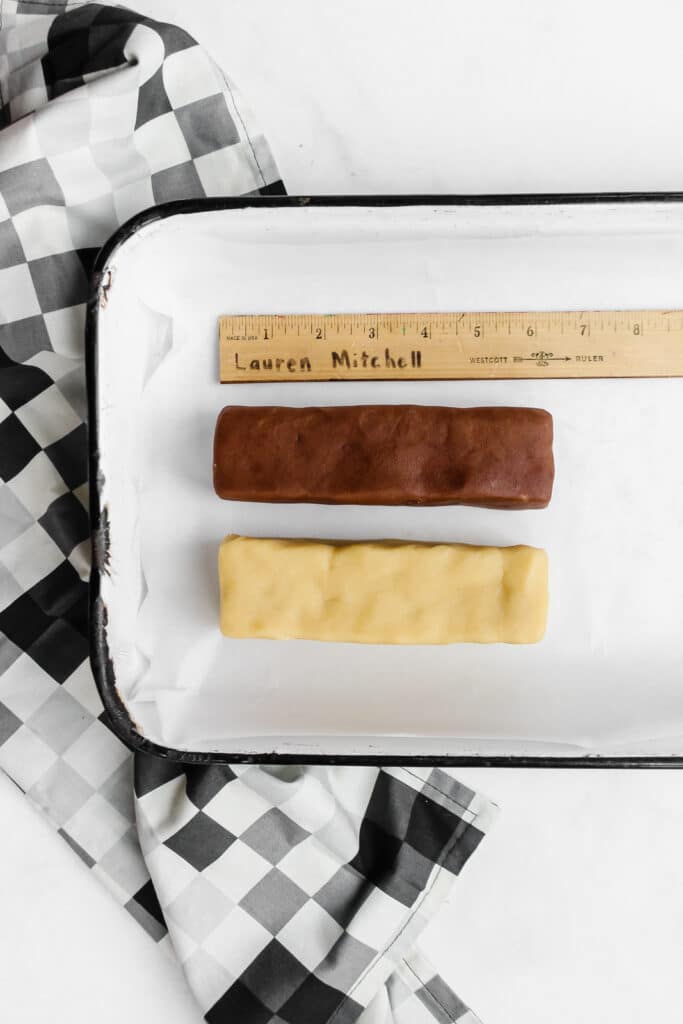
- Shape the chocolate dough into a rectangular log that is 6 inches (15 cm) in length and 2 inches (5 cm) in height. Repeat this process with the vanilla dough so you have two uniform rectangular logs of dough. Try to keep the edges as square as possible. Wrap each dough gently with plastic wrap and refrigerate for about an hour or freeze for 20 minutes to firm up.
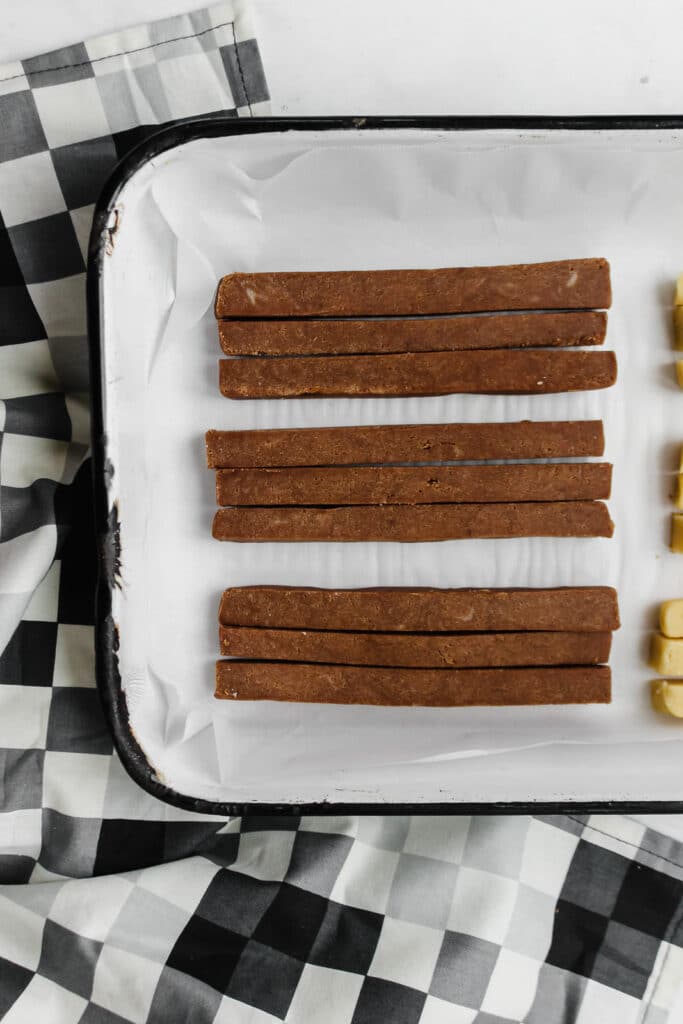
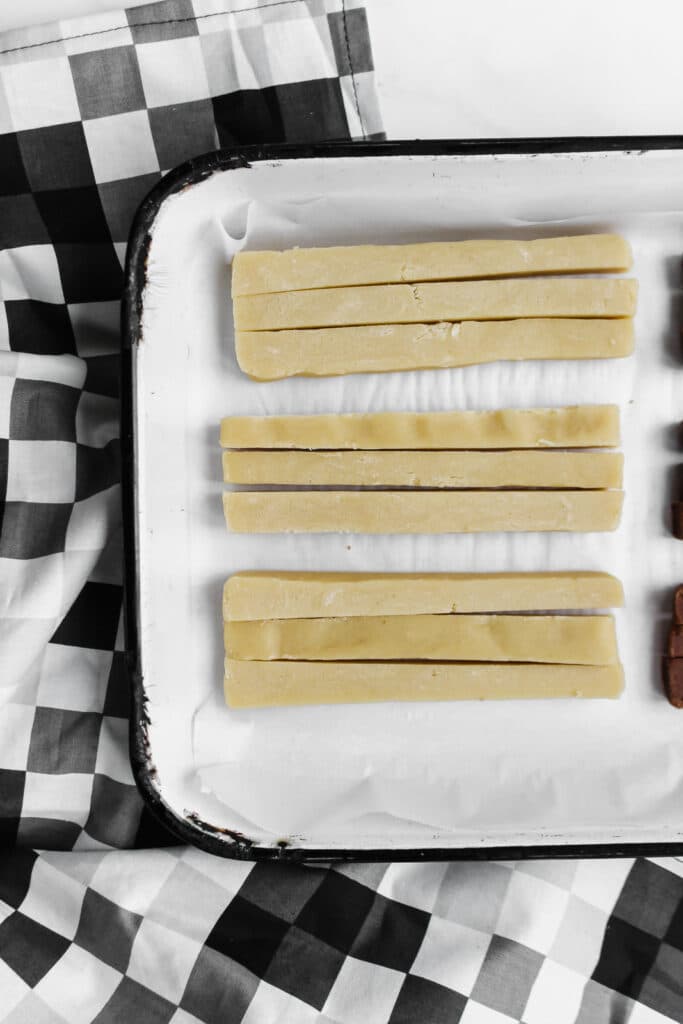
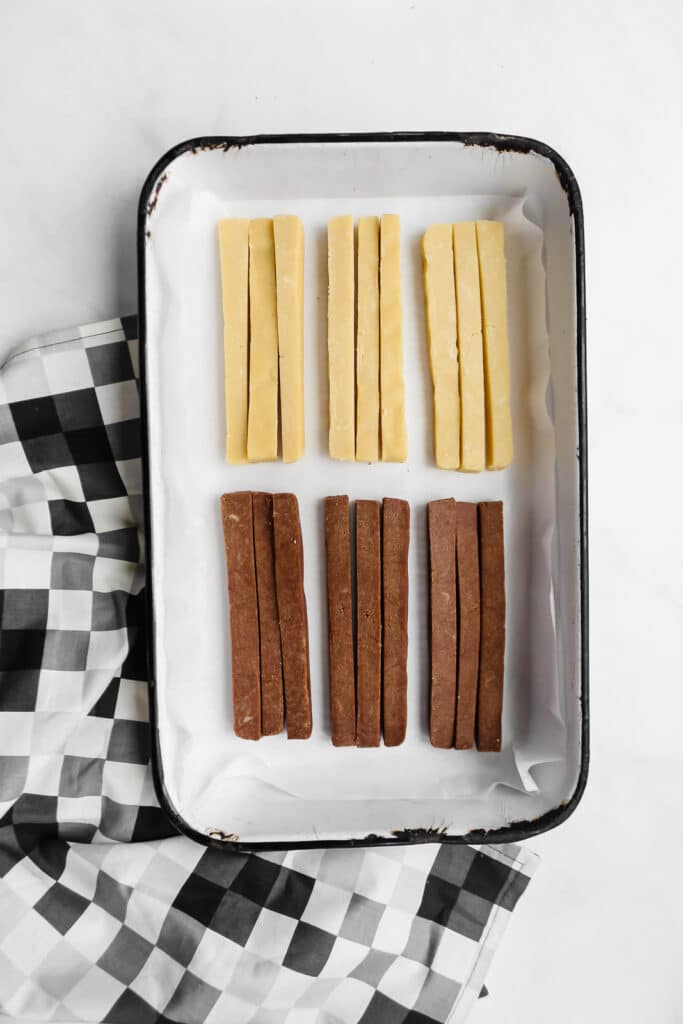
- Once firm, unwrap each rectangle of dough and cut lengthwise into 3 even slices using a large, sharp knife. Then, cut each piece into 3 additional long strips for a total of 9 strips of each color. See instructions below for pictures of this process.
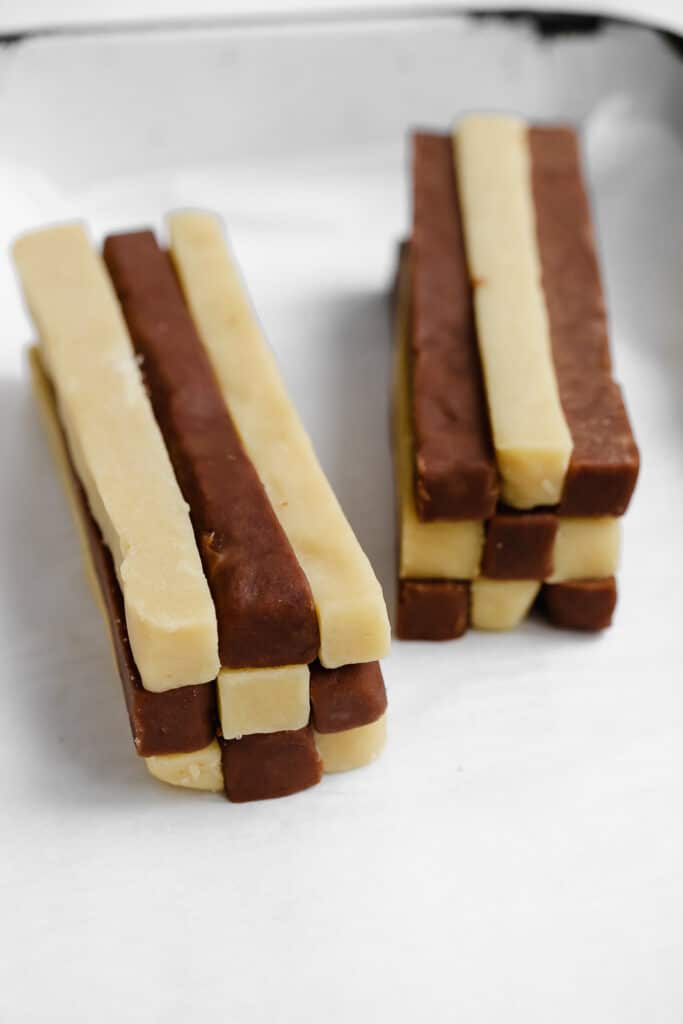
- Brush the strips with the whisked egg white and stack them in threes, with alternating colors to resemble a checkboard. Each log will contain a total of 9 pieces and be the same shape as the original logs. Once formed, wrap the logs in plastic wrap and refrigerate for about an hour or freeze for 20 minutes for easier slicing.
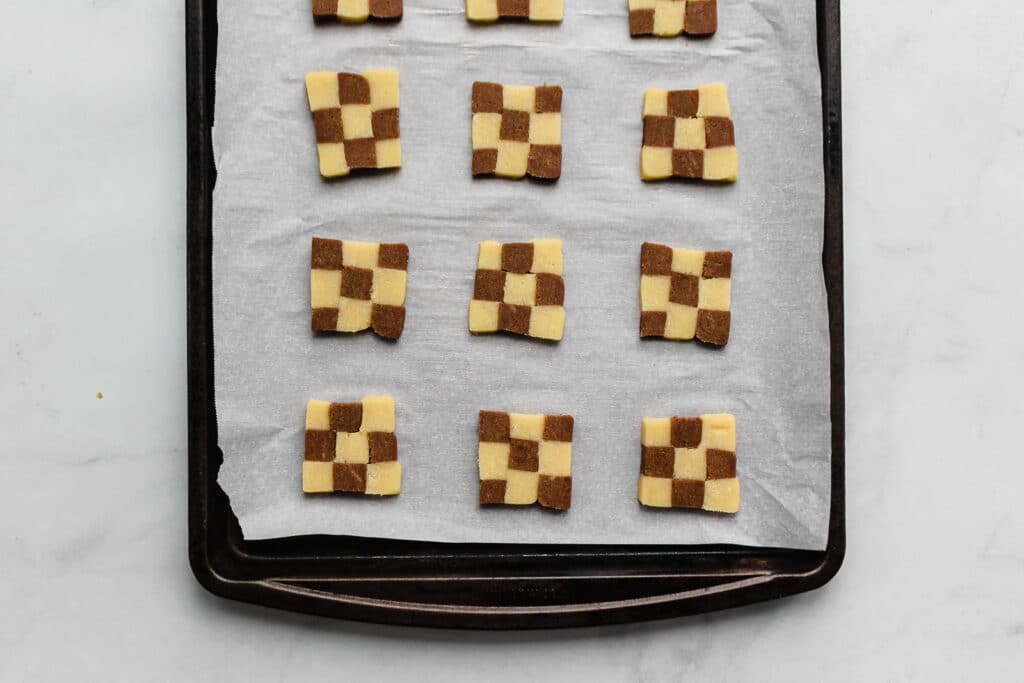
- Once ready to bake, preheat the oven to 375° F. Line your cookie sheets with parchment paper. Unwrap the logs of dough and cut into ¼ inch slices. Place the cookies on the parchment lined cookie sheet and bake in the preheated oven for 8-10 minutes, or until the cookies are firm and lightly golden on the edges. Cool on the baking sheet for about a minute before transferring to a cooling rack.
Step-By-Step Photos of the Checkerboard Cookies
Once you have your dough mixed and divided, shape into rectangular logs that are 6 inches (15 cm) in length and 2 inches tall. You want them to be as uniform as possible:
Cut the logs into thirds horizontally using a large knife, as shown below:
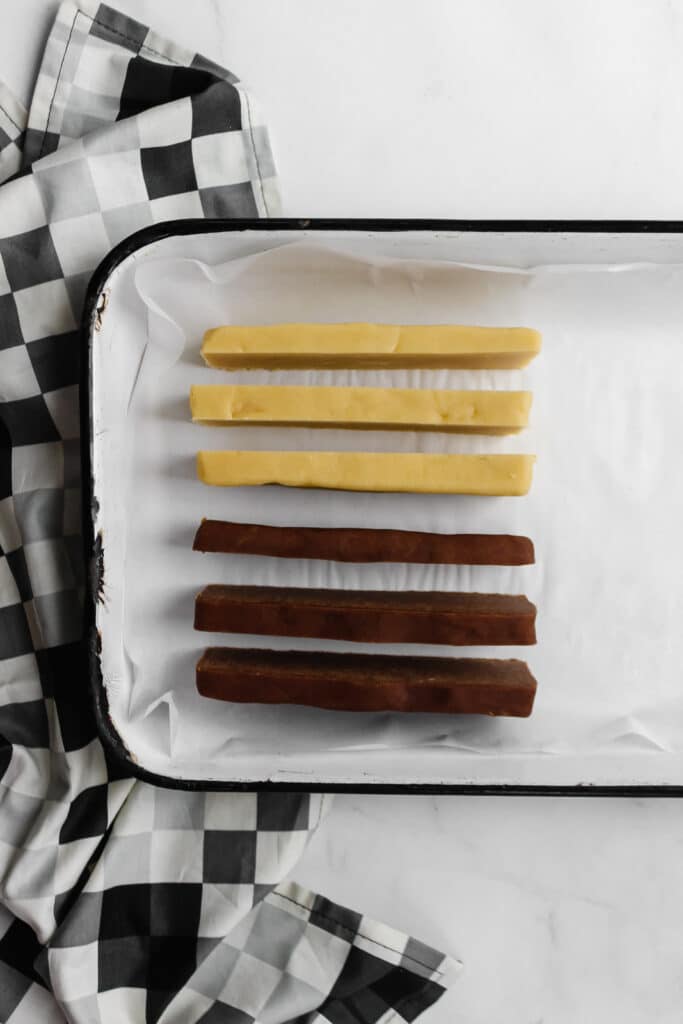
Then, cut each third into 3 uniform strips for the chocolate:
Do the same for the vanilla:
You will end up with a total of 18 strips (9 of each flavor):
You will then assemble using beaten egg whites as a binder:
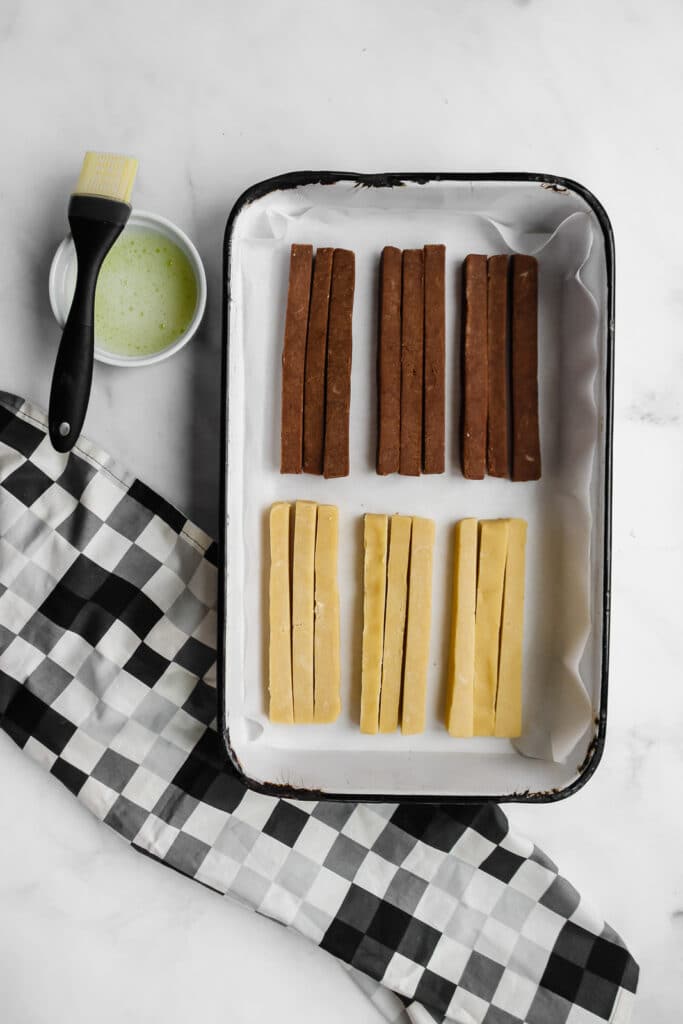
It also helps to sort your pieces first:
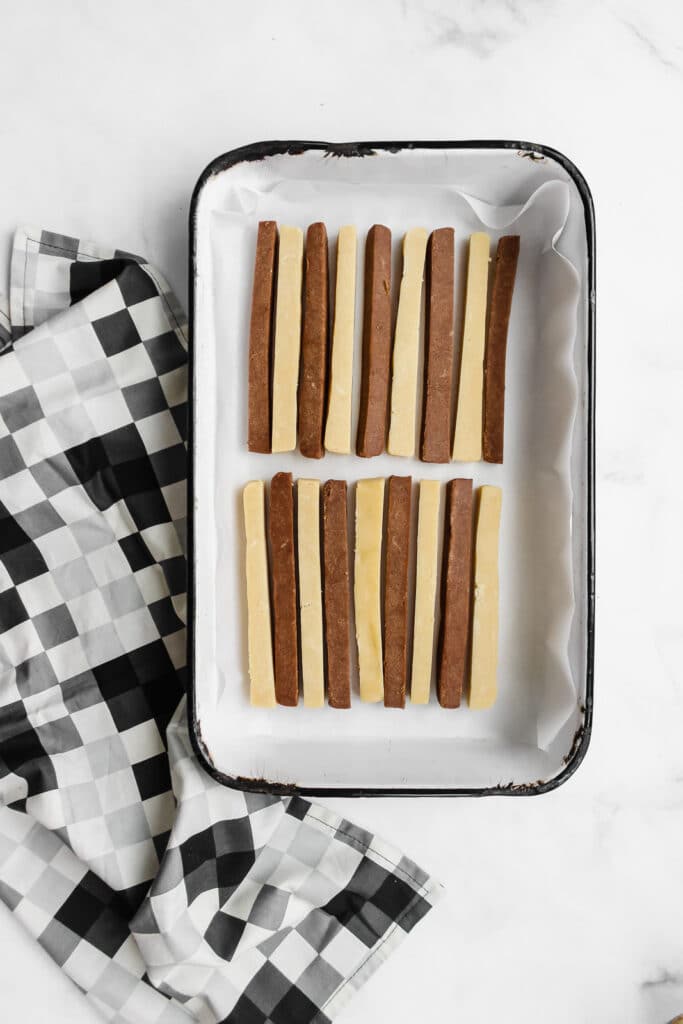
Assemble back into logs using alternating flavors to form a checkerboard pattern:
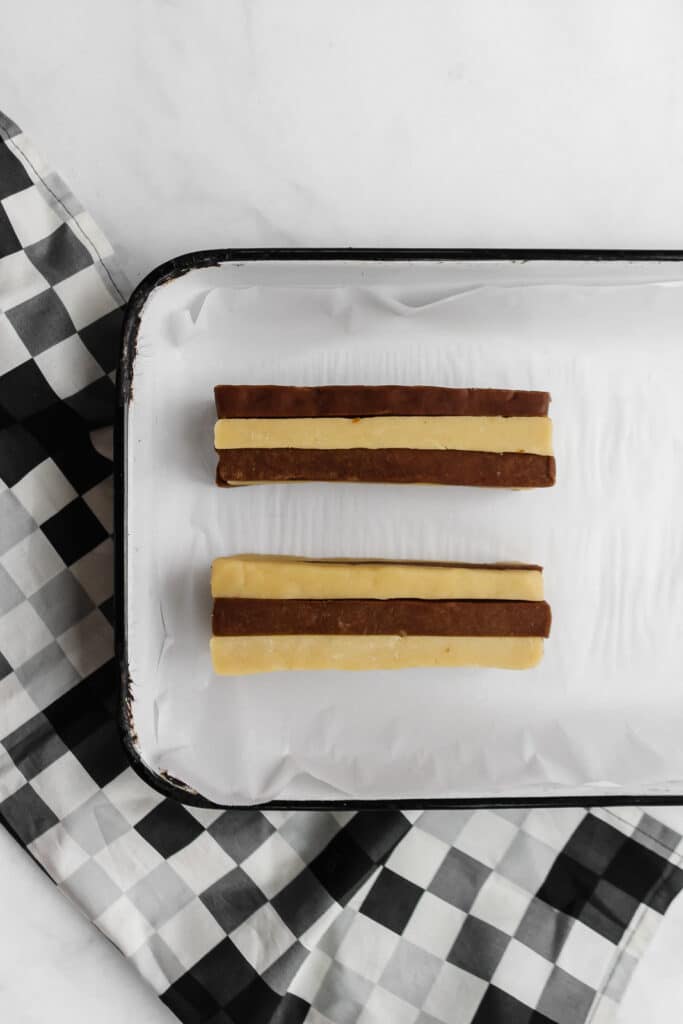
They will look like this and then they need to be wrapped in plastic wrap and chilled:
Once chilled, slice into ¼ inch slices with a sharp knife and bake on a parchment lined tray:
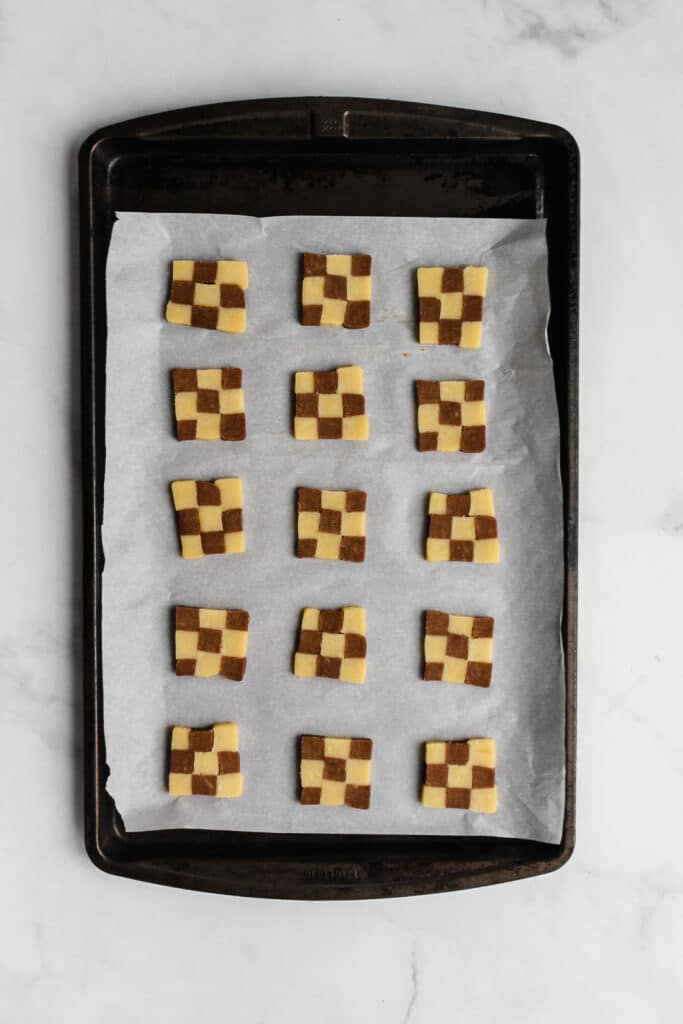
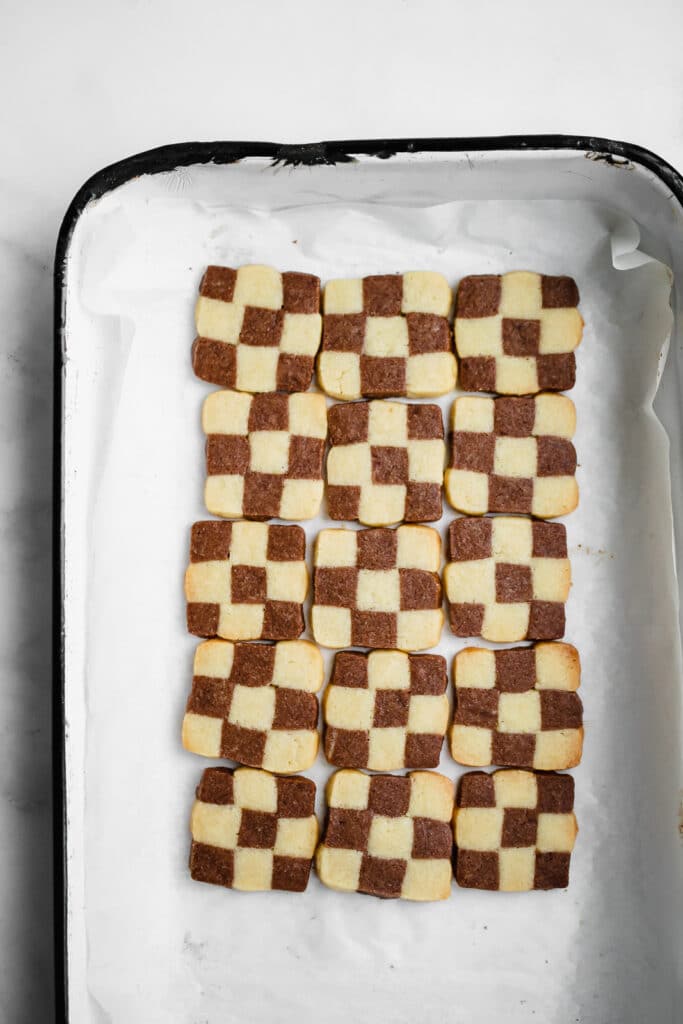
Bake until the edges are golden:
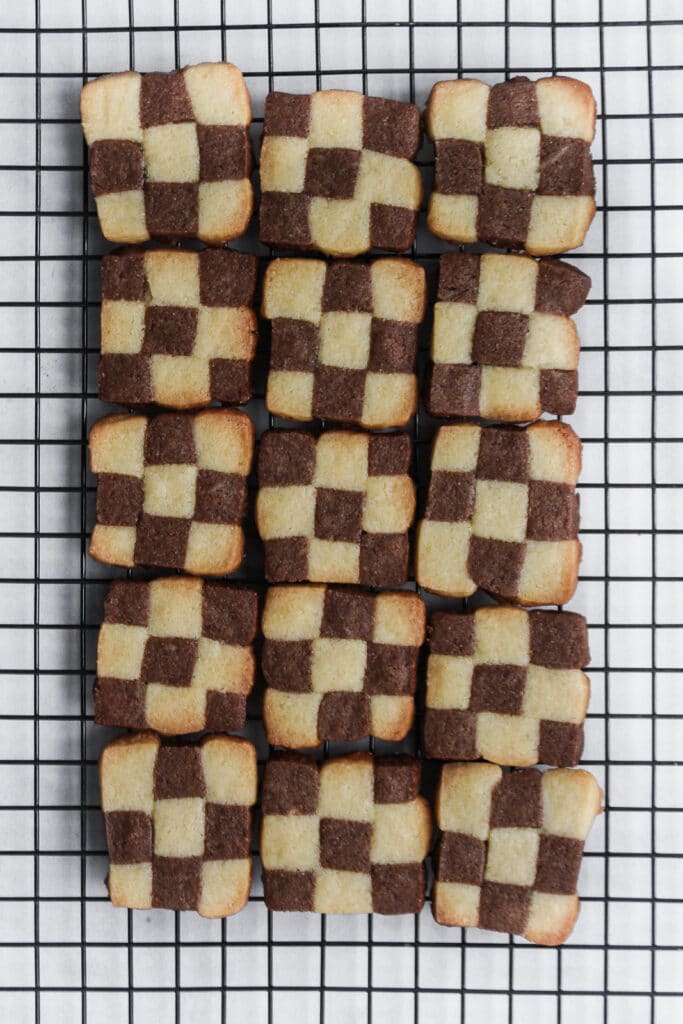
And enjoy!
Mitchy loved being part of the photo shoot:
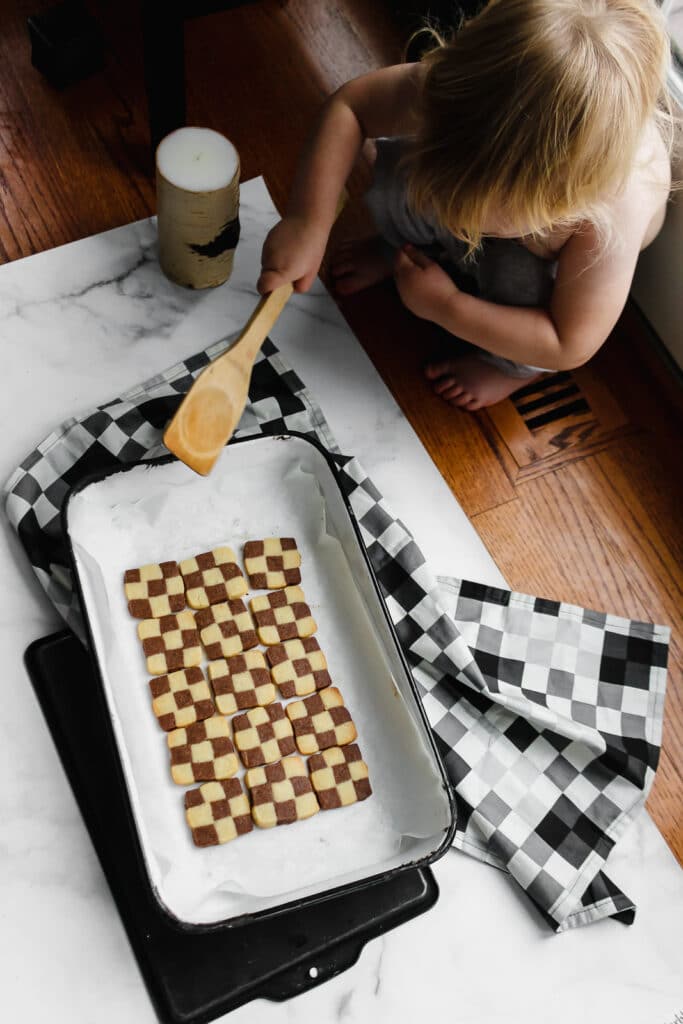
Here are a few more behind-the-scenes photos:
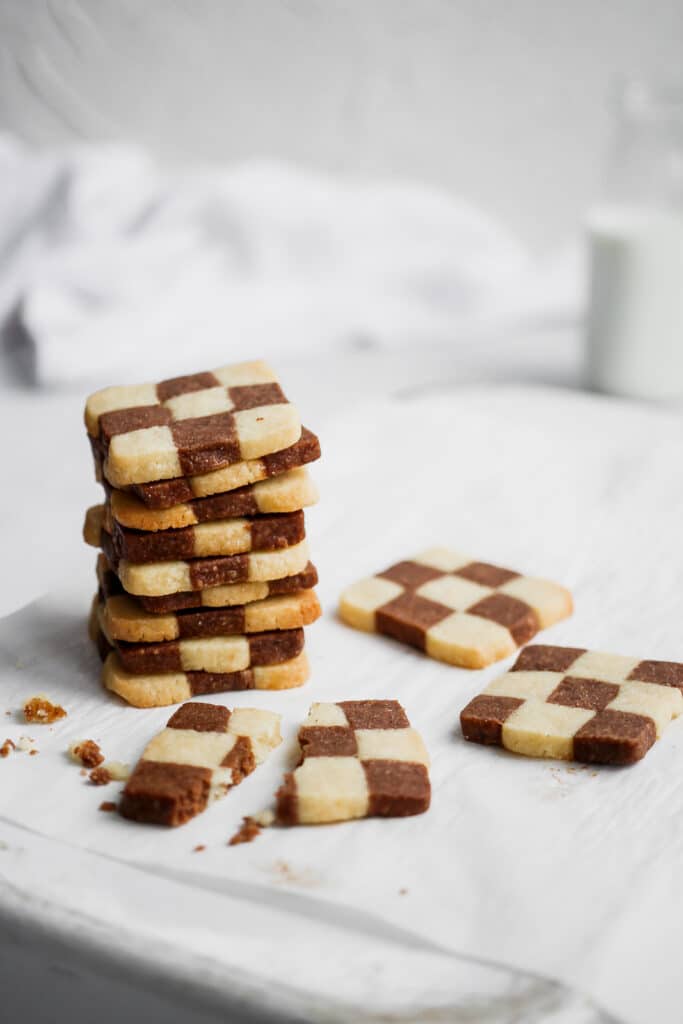
I love cookie stacks, especially with the checkered pattern:
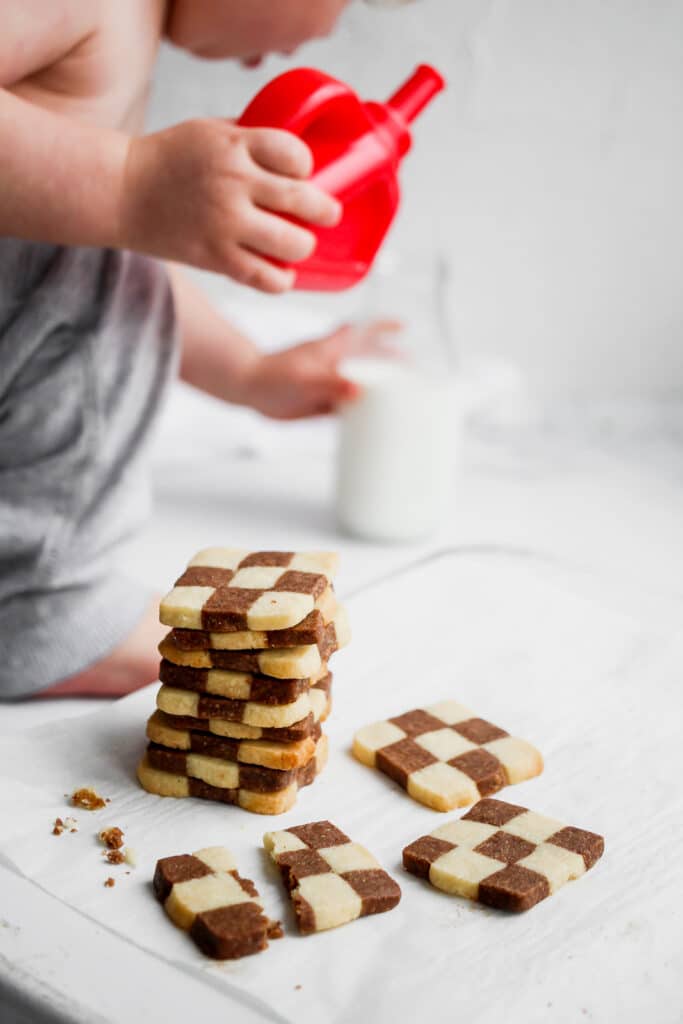
Uh oh, here comes Mitchy with his gas can:
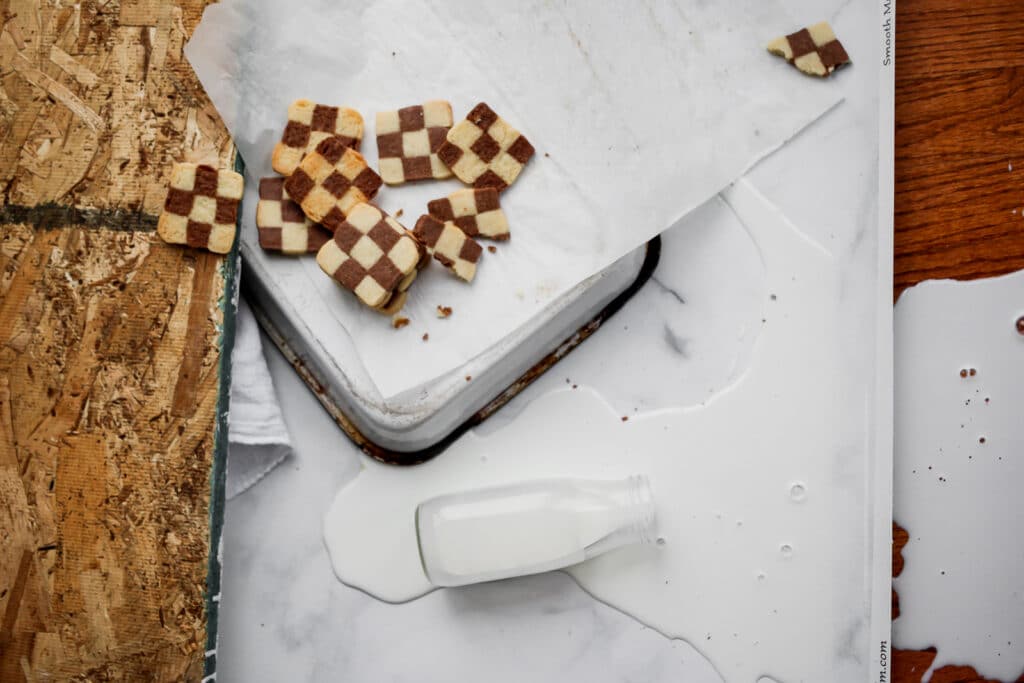
CRASH! Yes, this really did happen! Thankfully, it was easy to clean up and no one was hurt!

I love the photos!!!!!
Wow! These are actually easy to make. They disappeared at our family Christmas!
Just made these as I’ve always been bee a bit intimidated by them. I wish I had found this recipe first because the recipe I tried before yours was terrible-there was no way that dough was going to come together. The butter/flour ratio was way off. This worked perfectly-the dough is perfect to work with and it’s a very tasty cookie to boot! Thank you
Thanks so much for sharing, Kelly! I am glad you had great success! 🙂